
Visit or Review Us On Angie's List
![]()

(Dig & Shape)
We typically build ponds by hand, but if necessary, we will bring in a machine. Almost every time we build a new water feature, the dirt that is dug out, will be used again. In normal circumstances we use the dirt to mound up where the waterfall will be going. In the process of digging out the shape of the pond, we dirt tamp the waterfall mound with a hand tamp. Dirt tamping compacts the dirt, so settling of the mound won’t be as easy. There have been some instances where we’ve had to use concrete blocks to give the waterfall mound the height, then cover that with dirt and continue carefully tamping.
As the shape of the pond is cut out, we leave a ledge that is a foot inside the perimeter of pond, and is a foot deep. The ledge is used for the stability of the stones laid around the inside of the pond and also to make it more difficult for predators to attack your aquatic life. Once we’ve shaped the pond and mounded and tamped the waterfall, we then start on shaping the waterfall ledges that help shape and stabilize the waterfall stones.
(Install plumbing)
Once we’ve completed the digging and shaping of the pond, we then start the process of installing the plumbing. Now depending on what was previously discussed in the EST about materials being used, the plumbing installation may be different than others. Typically we like to install skimmer boxes. Where the skimmer box is most efficient, is where we dig a hole to fit the box comfortably. The depth of the skimmer box depends on where the water level is most efficient for the circulation process to work. The next step is installing the waterfall filter box, or waterfall weir at the top of the waterfall mound. When skim box and waterfall box is packed down and settled in tight, the next step is installing your PVC Flexible Tubing. We dig a trench from the skimmer box up to the waterfall box, lay down the tubing, apply necessary plumping, and fill the trench back up with dirt, tamp lightly and your good to go!
(Liner)
When installing the liner, we must first check all around the pond and make sure that no gravel, or sharp foreign objects are in a position to puncture the liner. Once inspected, we install our underliner which is soft padding that helps protect the liner itself. The underlay needs to be shaped and formed to every part of the pond and waterfall. Next is installing your liner. We carefully lay your liner in, and form it to the shape of your pond. Then we have to start the process of attaching the liner to the skimmer box. With the waterfall, we may have already attached a piece of liner to drape over the pond liner. We will discuss the benefit of the separate liner in a different article. Once the liner is shaped to your pond and waterfall, we place a few stones carefully on the liner to keep it in place.
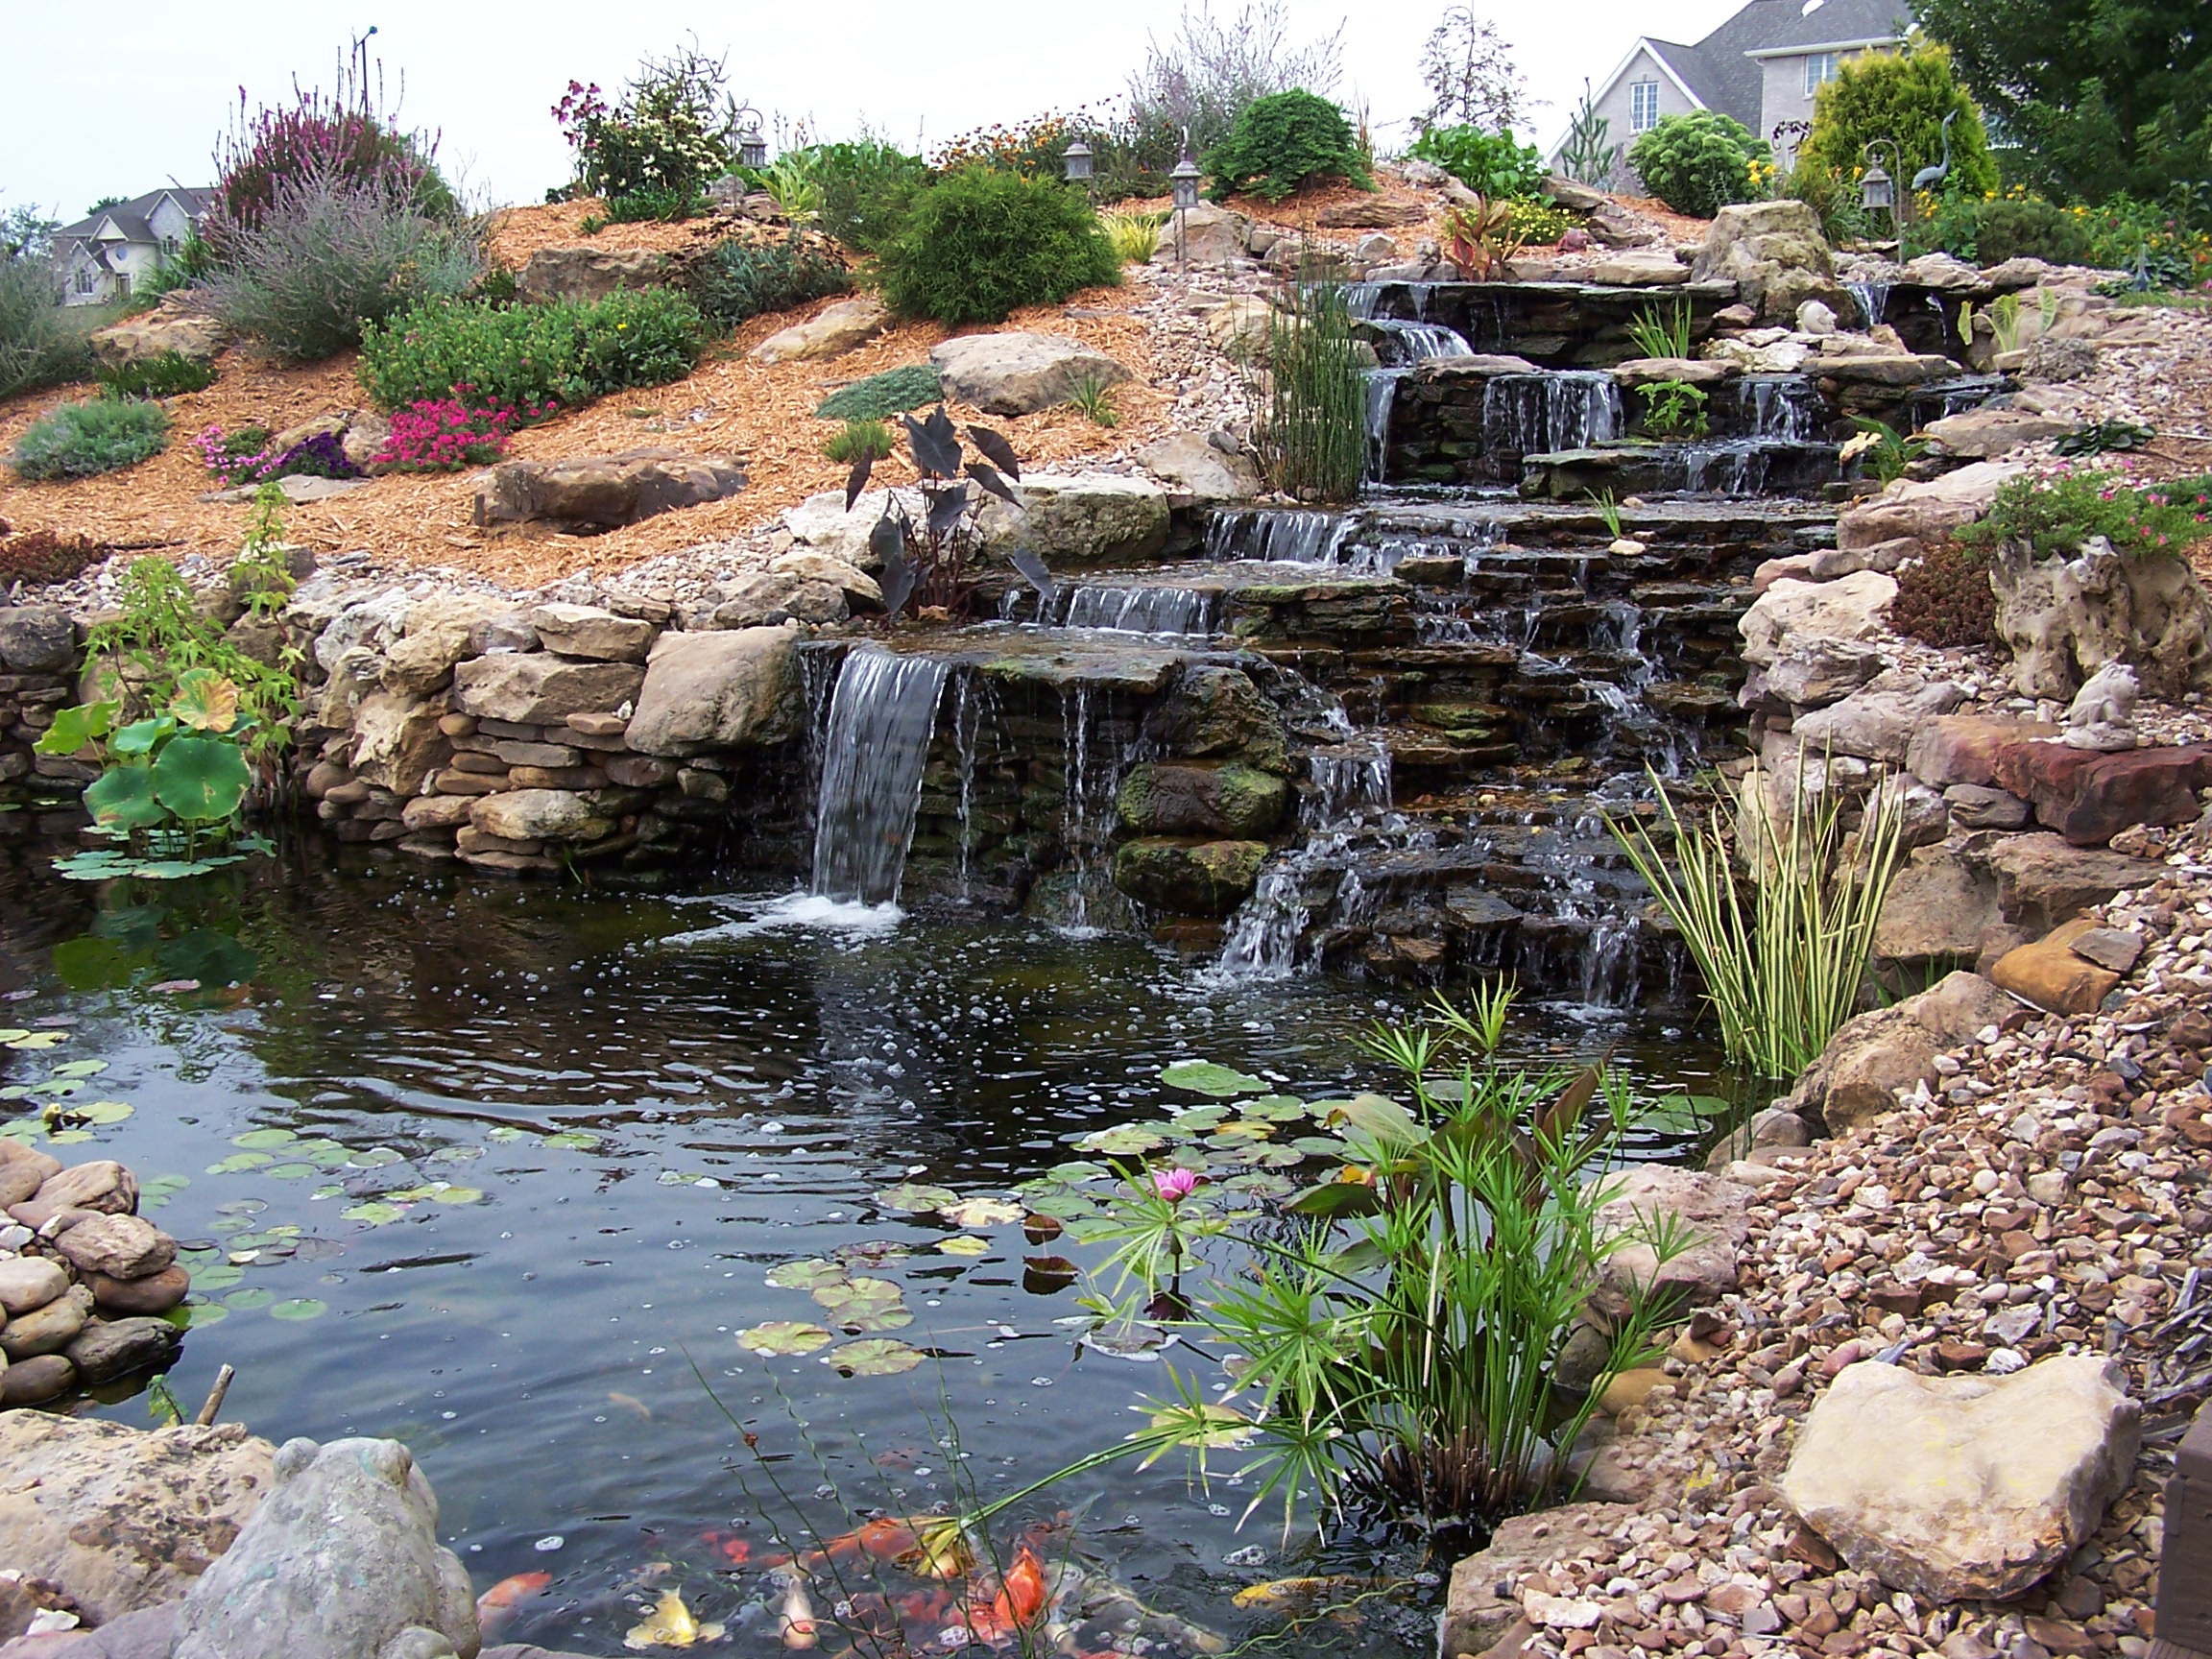
(Stone Work)
Putting stones together in a pond is like putting together a big, heavy, puzzle! We have to carefully set the stones on the stone ledge and form a wall. Once we build up to the top of the wall, we cap the top off to hide the liner. We place the water fall stones, and carefully fold the liner in a way so the running water will not run out of the liner and pinch it with stones. We also use a pond sealant foam that will not only help keep your stones in place, but also helps keep the running water on top the the waterfall stones to maximize the flow rate. So once all the stone is laid in the pond, waterfall is put together and foamed, and we’ve placed small stones in gaps to hide the liner, it’s time to rinse off and vac out!
Once the rinse off process is complete, we start adding water! We will de-chlorinate the water and then you are free to add fish and aquatic plants! We like to be present once the waterfall is running to make sure everything in the waterfall system isn’t running off, checking the plumbing, basically giving it a once over. Now it’s time to enjoy your pond! Next is the hard part! Trying to get rid of us once the pond is running!